Cleaning Nibs and Checking for Damage
How to clean a new nib:
If you dip a new nib in ink and try to write with it, chances are, you’ll struggle producing proper strokes! This is because nibs have manufacturer oils coated on them that prevent them from rusting, and guess what, these oils are also going to prevent the ink from sticking to the nibs and flowing properly off of them, unless you clean them first.
Here are some options on how you can prepare new nibs for use.
What does a properly cleaned nib look like?
When you dip it into ink and look at the underside, the surface that touched the ink should be fully covered with no spots peeking out.
Wipe with
Isopropyl alcohol
Windex
Gum arabic
Spit
Wash with
Dish soap
Lemon + vinegar + dish soap + water solution
Toothpaste
Stick into
A potato
Quickly run above
A candle/lighter flame
Note: While writing, it’s good practice to regularly clean the nib by dipping it into a jar of water every few lines and every time you end a session, especially if you’re using iron gall (which is acidic and wears the nib faster) or metallic inks (which tend to dry quickly and stick to the nib), or if you’re using a paper that has fibers that tend to catch on your nib often.
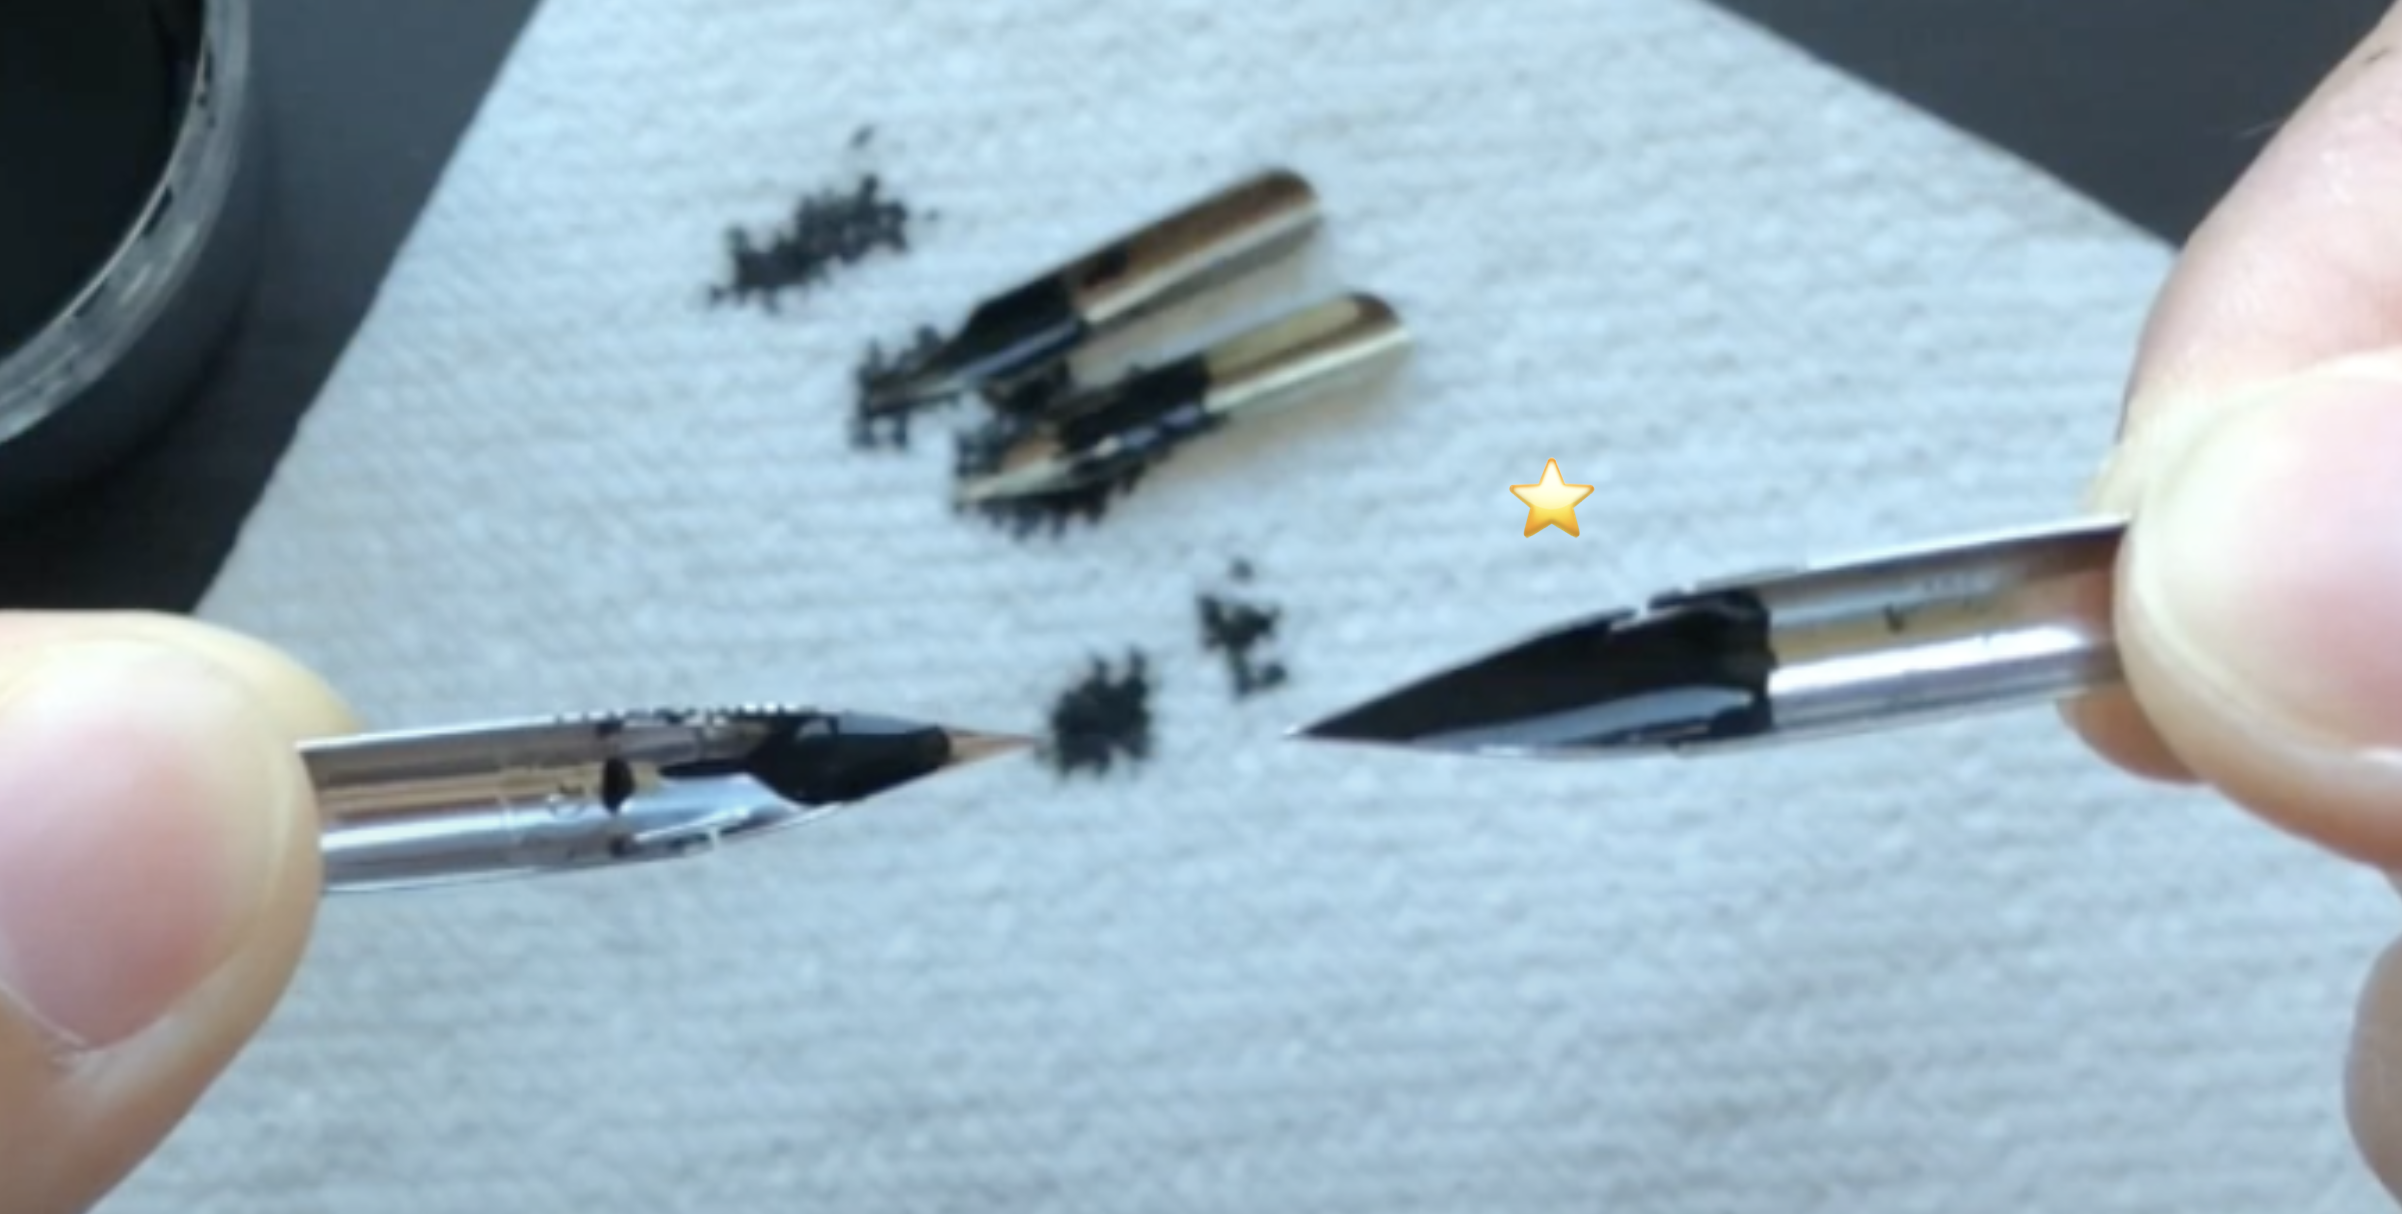
How to check for damage:
There is a slit that splits the pointed nib into two tines. View the nib from the side and from the top. These two tines should be perfectly aligned with each other; there should be no gap.
With the curved side up, hold the tip against your fingernail or a piece of paper and gently put pressure on it. The two tines should splay out, and when you release the pressure, they should snap back to its starting position and in perfect alignment.
Sometimes the damage is imperceptible and you will only feel it when you write. When you are writing upstrokes and one of the tines gets left behind, therefore the nib skips the paper, it’s time to replace the nib.